If you’ve ever rocked press-on nails, you know how satisfying it is to have a polished, salon-like look within minutes. But when it comes time to remove them, things can get tricky. The last thing you want is to damage your natural nails or ruin your beautiful press-ons.
Over the years, I’ve perfected a few methods on how to remove press-on nails, and today, I’m sharing my go-to techniques for keeping both my nails and my peace of mind intact.
Why Removing Press-On Nails the Right Way Matters
At first, I was in a rush to peel them off as soon as I was ready for a new look, but over time, I realized that being gentle is the key to preserving both my press-ons and my natural nails. Improper removal can lead to nail bed injury, thin nails, and sometimes even irritation. In my experience, taking a few extra minutes and using the right methods saves me a lot of trouble later.
When I finally figured out how to remove press-on nails safely, I was able to reuse my nails (yes, really!), and I felt better about my nails’ health. Let me show you how you can do the same.
What Are the Best Ways to Remove Press-On Nails?
There are several methods to remove press-on nails, and the best one for you depends on the type of adhesive used. Whether you’re aiming to reuse your press-ons or just want them gone without damage, I’ve got you covered. Here are my top methods.
Method 1: Gentle Soak – Best for Reusing Press-On Nails and Adhesive Tabs
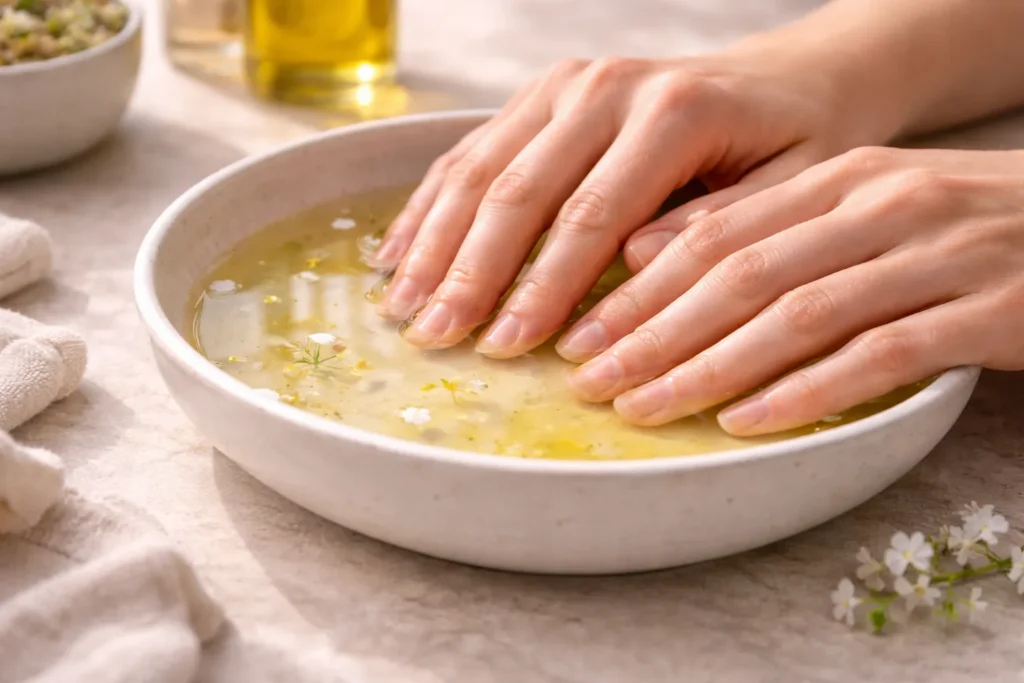
If you’re looking to reuse your press-ons, this is by far the gentlest way to go about it. You don’t need any harsh chemicals or forceful pulling.
Here’s how I do it:
- Prepare the Soak: Fill a small bowl with warm water (not too hot), add a few drops of dish soap, and a splash of olive oil or coconut oil. This helps to break down the adhesive without damaging your nails.
- Soak Your Fingers: Submerge your fingertips into the bowl for about 10–15 minutes. The warm water will soften the adhesive, making it easier to remove.
- Gently Lift the Press-On: After soaking, I use a wooden cuticle stick (orange stick) to gently lift the edges of the press-on nail. Be sure to take your time and avoid any tugging.
- Repeat if Needed: If they’re not budging, I repeat the soaking process for another 5–10 minutes. Patience is key!
Pro Tip: If you want to reuse the press-ons, make sure to avoid forceful removal. Soaking and gently lifting ensures the adhesive comes off without pulling at your natural nail.
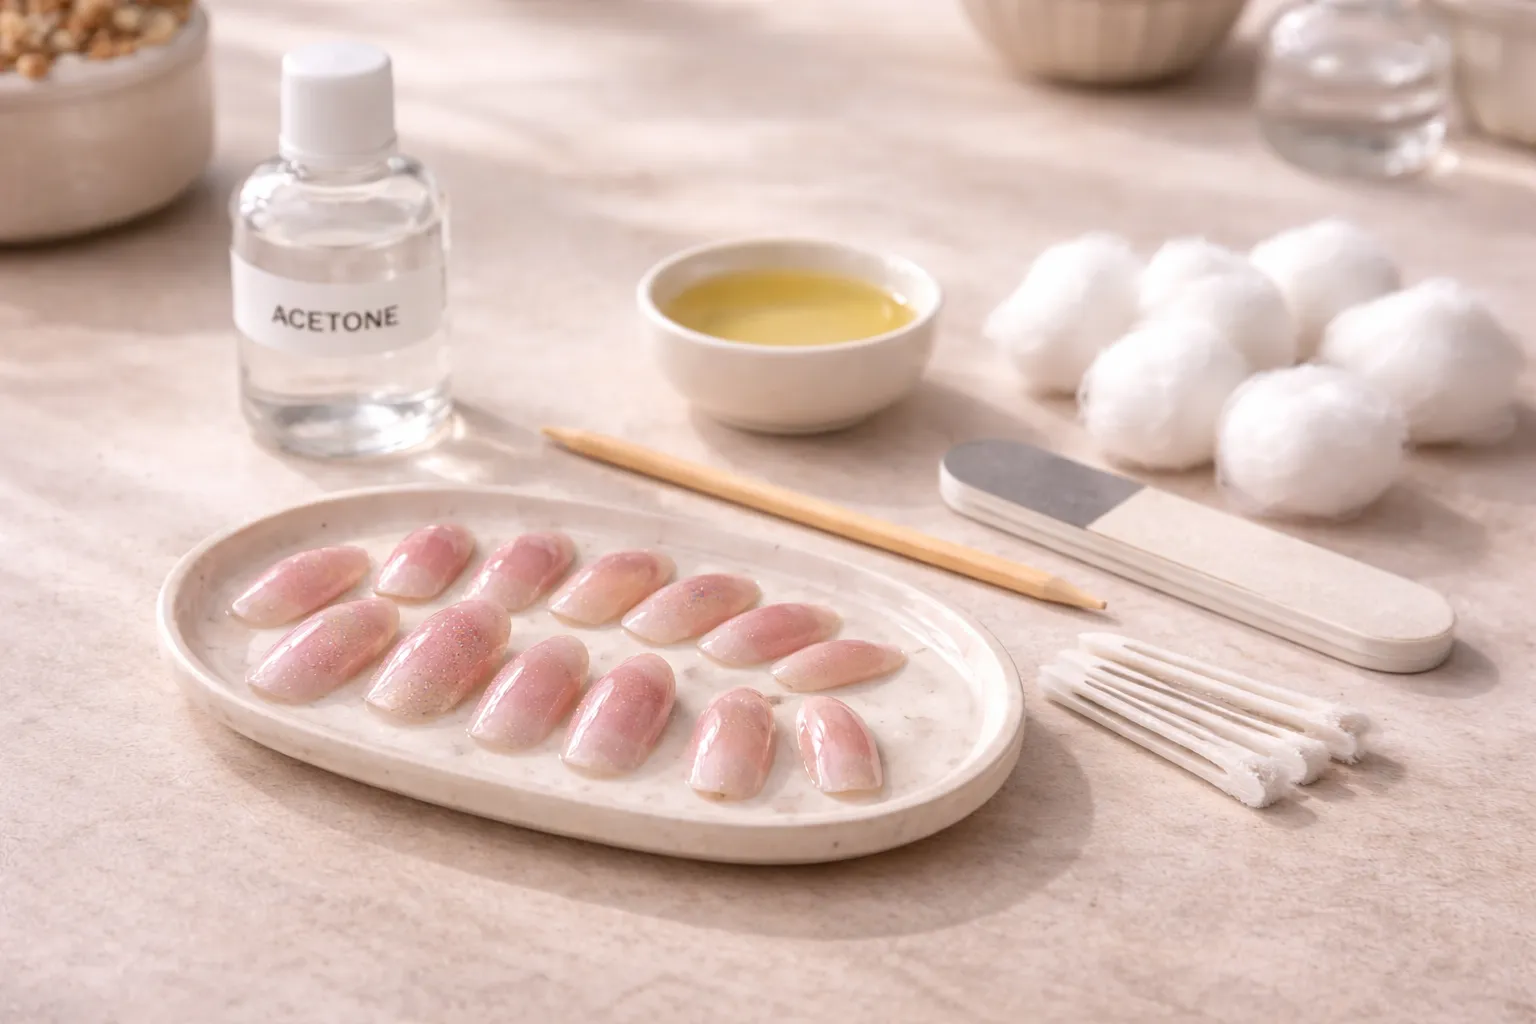
Method 2: Acetone Soak – Best for Strong Nail Glue
If your press-on nails are stuck on with strong glue, acetone is your best bet. However, this method will likely dissolve your press-ons, making them non-reusable, so only use this when you’re ready to part with your current set.
- Protect the Skin: Before using acetone, apply petroleum jelly around your cuticles to protect the skin from drying out.
- Soak in Acetone: You have two options: either dip your fingers into a bowl of 100% acetone or soak cotton balls with acetone, place them on your nails, and wrap your fingers in aluminum foil. This method works best if you need to break through stubborn glue.
- Wait: Let the acetone sit for 10–15 minutes to break down the glue.
- Remove the Press-On: Once the glue softens, the nails should slide off easily. Use a cuticle pusher to help lift the edges.
Pro Tip: Make sure to follow up with a good hand cream or oil afterward, as acetone can dry out your skin and nails.
Method 3: Targeted Glue Removers – Best for Quick, Mess-Free Removal
If you don’t want to deal with acetone, specialized nail glue removers like Glamnetic Glue Away or KISS Glue Off are designed to dissolve glue quickly without the harshness of acetone.
- Apply the Remover: Apply the glue remover around the edges of your press-on nails where the glue has bonded to the nail.
- Wait: Let the remover sit for about 1–2 minutes, allowing it to break down the glue.
- Lift and Remove: After the glue has softened, use a cuticle stick to gently lift the press-on nails off.
Pro Tip: This method is fast and convenient if you don’t want to deal with a soak or acetone, but it may not work for stubborn glues.
Essential Aftercare for Your Natural Nails
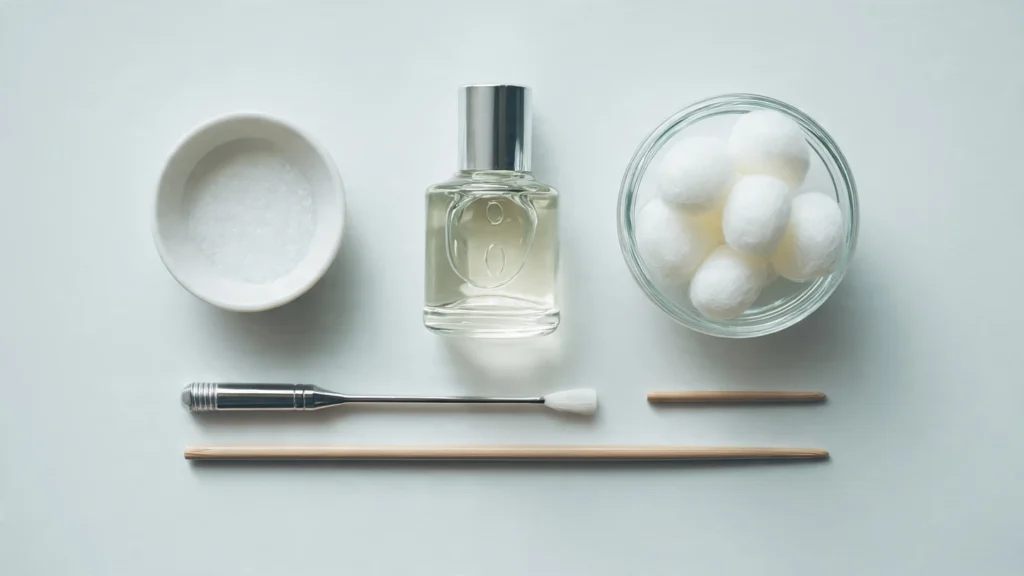
After removing press-on nails, your natural nails will need a bit of TLC. Here’s my go-to routine:
- Remove Residual Glue: Gently buff away any remaining glue using a soft nail buffer. This helps restore the smoothness of your natural nail.
- Moisturize: Acetone and the soaking process can be drying, so I always apply cuticle oil or hand cream right after removal. This keeps my nails hydrated and looking healthy.
- Give Nails a Break: I try to give my nails a few days to breathe before applying a new set of press-ons. This helps my natural nails recover and prevents them from becoming weak.
Frequently Asked Questions
1. Can I reuse press-on nails after removing them?
Yes! If you follow the gentle soak method, you can reuse your press-ons. Just make sure to clean off any adhesive residue and store them properly.
2. How long should I soak my nails to remove press-ons?
For the best results, soak your nails for 10–15 minutes to soften the adhesive. If they’re still not lifting, soak for an additional 5–10 minutes.
3. Does acetone damage my natural nails?
Acetone can dry out your nails, but it doesn’t cause lasting damage if used properly. Always moisturize afterward to keep your nails healthy.
4. Can I remove press-on nails without acetone?
Yes! The gentle soak method works well for press-ons with lighter adhesive. Acetone is only necessary for stronger glues.
Nail Care Beyond Removal: Keep Your Nails Strong and Healthy
Removing press-on nails the right way can make all the difference. Instead of rushing the process, I’ve learned that taking a little extra time helps keep both my natural nails and press-ons in top condition.
If you’re consistent with your nail care, you’ll be able to work out how to remove press-on nails without worrying about long-term damage. It’s all about the right technique and aftercare!